Appearance
Ogma Angular 9 Tutorial
The following tutorial will show how to create a Ogma component using the Angular framework. This tutorial is based on the Angular 9 framework version.
The final goal of this tutorial is to build a basic Angular web application with Ogma that:
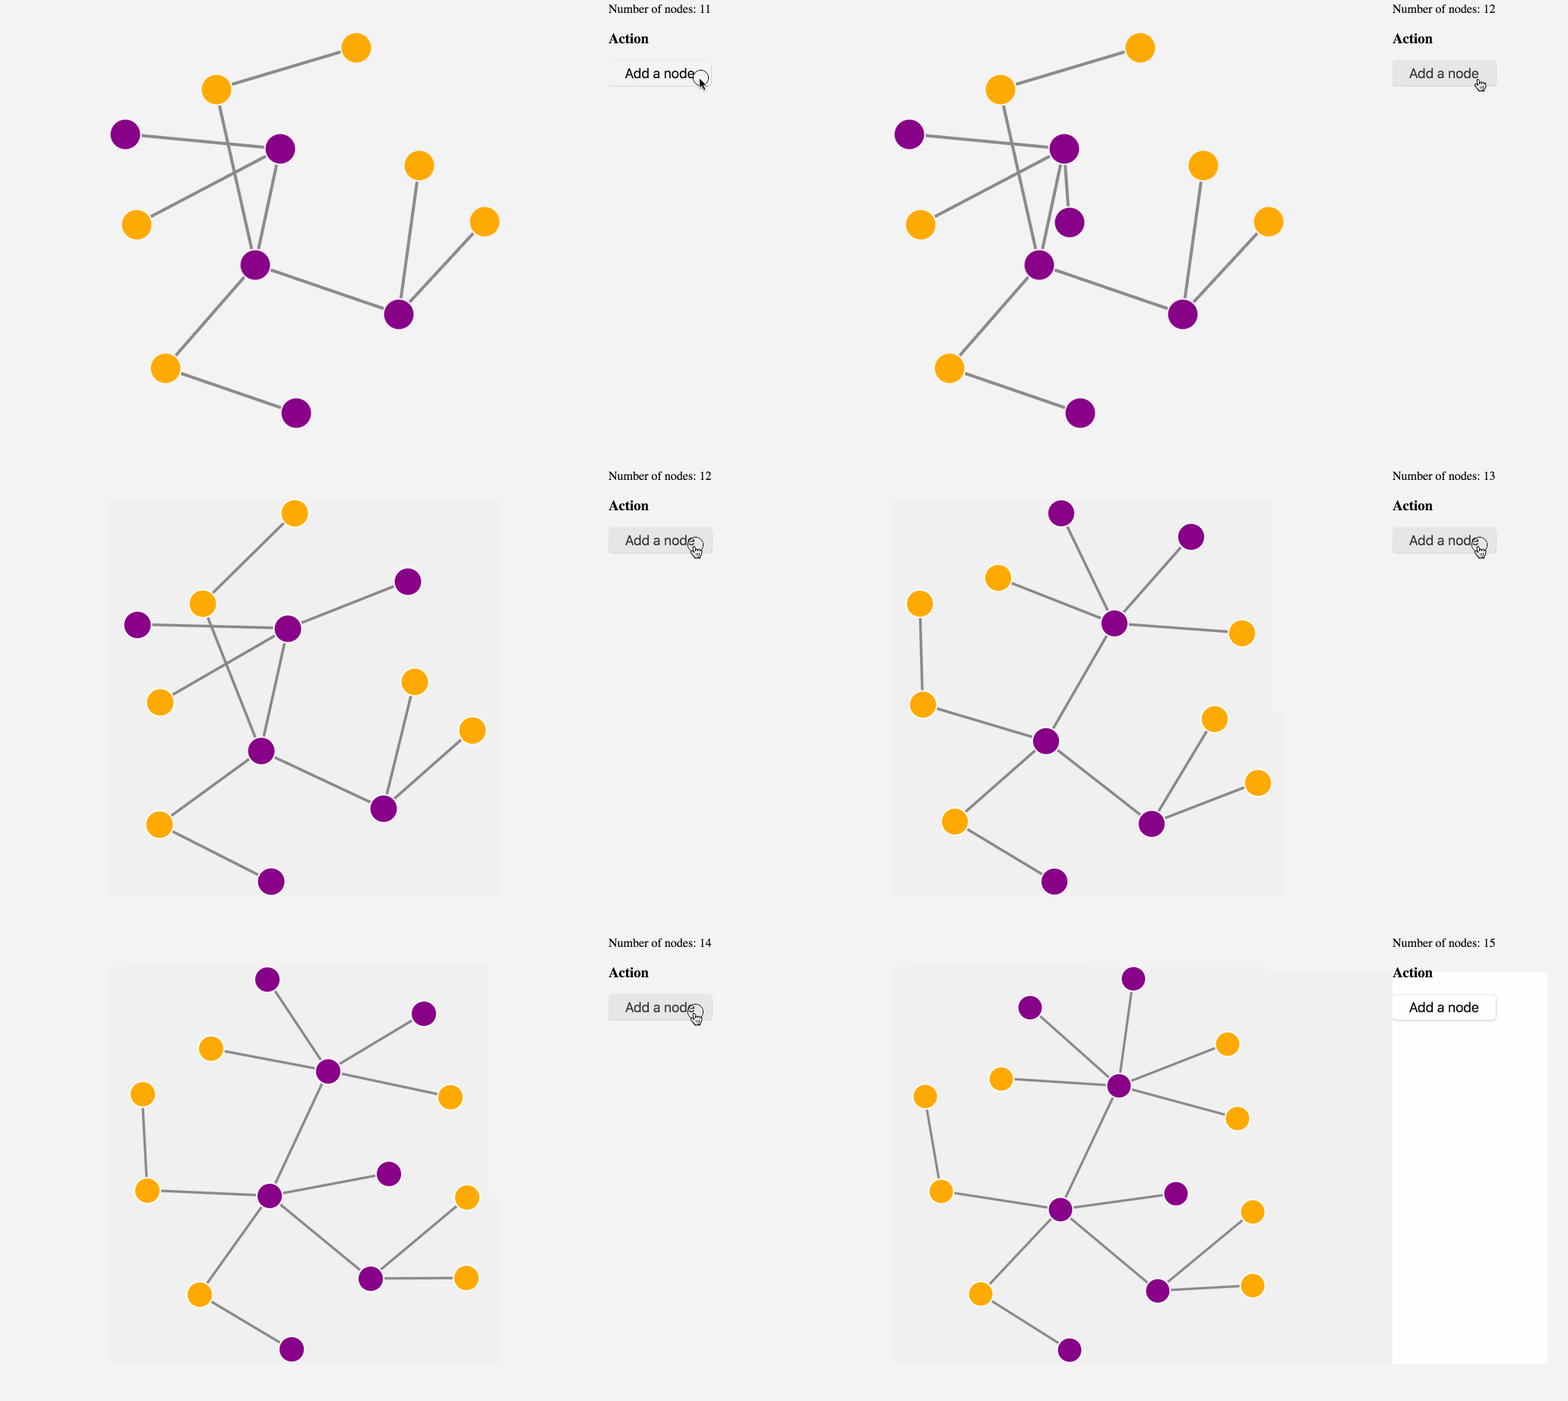
- Add a node via a button
- Shows a tooltip with information when hovering a node
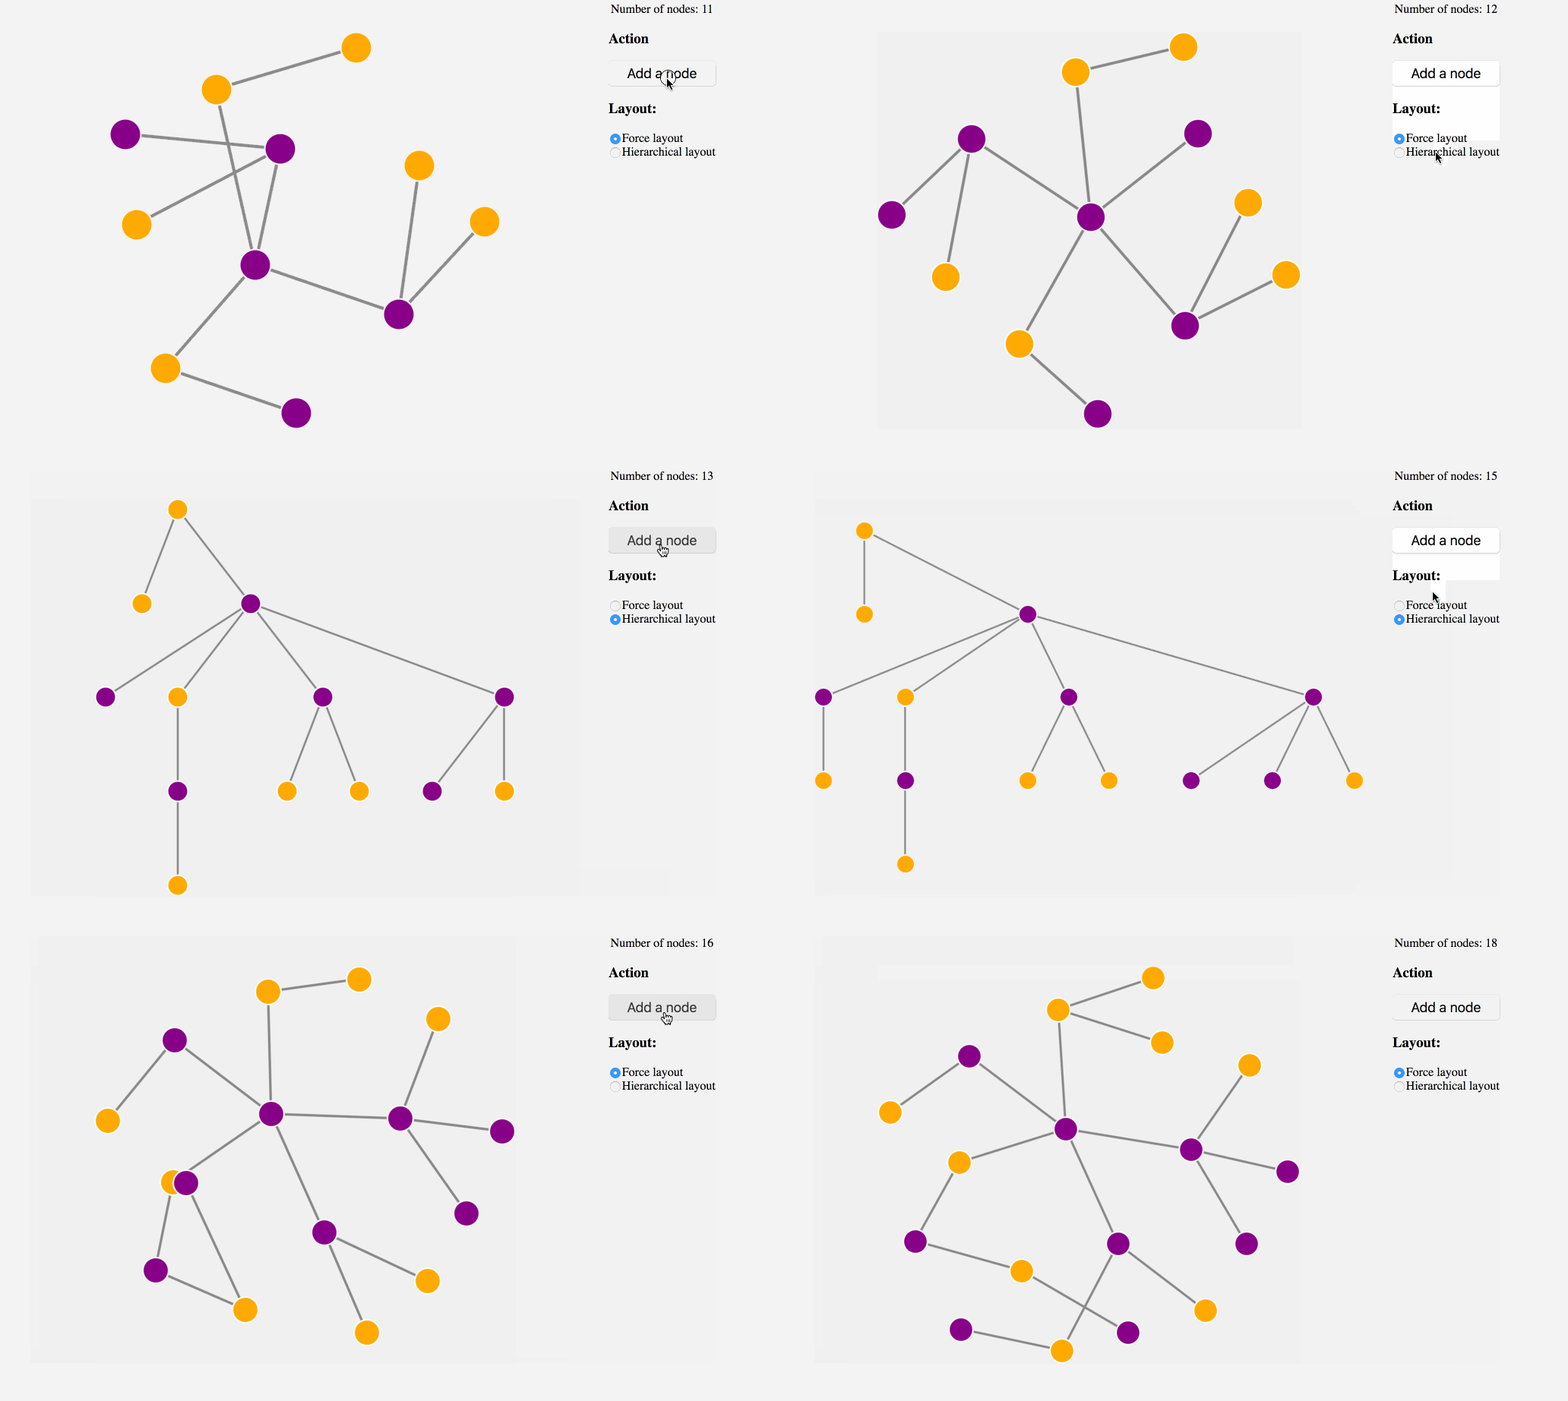
- An advanced expand-like feature with 2 different layouts
Note The project in this tutorial has been bootstrapped using the angular-cli and Angular 9 which may have small differences from previous versions. While these changes amy occur with previous versions, the pattern used in the tutorial should work for any version of Angular.
As first step the OgmaService is has to be defined:
ts
import { Injectable } from '@angular/core';
import Ogma from '@linkurious/ogma';

@Injectable()
export class OgmaService {
  // expose an instance of Ogma from the service
  public ogma: Ogma;

  public initConfig(configuration = {}) {
    this.ogma = new Ogma(configuration);
  }

  public runLayout(): Promise<void> {
    return this.ogma.layouts.force({ locate: true });
  }
}
and associated with the app.module.ts:
ts
...
import { OgmaService } from './ogma.service';

@NgModule({
  declarations: [
    AppComponent
  ],
  imports: [
    BrowserModule
  ],
  providers: [OgmaService],
  bootstrap: [AppComponent]
})
export class AppModule { }
Now it's time to use the OgmaService in the application:
ts
import {
  OnInit,
  AfterContentInit,
  Component,
  Input,
  ViewChild
} from '@angular/core';
import { OgmaService } from './ogma.service';

@Component({
  selector: 'app-root',
  template: `
    <div class="App">
      <div #ogmaContainer style="width: 800px; height: 600px;"></div>
    </div>
  `,
  styleUrls: ['./app.component.css']
})
export class AppComponent implements OnInit, AfterContentInit {
  @ViewChild('ogmaContainer', { static: true })
  private container;

  /**
   * @param {OgmaService} ogmaService
   */
  constructor(private ogmaService: OgmaService) {}

  /**
   * Initialize the configuration of Ogma
   */
  ngOnInit() {
    // pass the ogma instance configuration on init
    this.ogmaService.initConfig({
      options: {
        backgroundColor: 'rgb(240, 240, 240)'
      }
    });

    // setup more Ogma stuff here, like event listeners and more
  }

  /**
   * Ogma container must be set when content is initialized
   */
  ngAfterContentInit() {
    // atach the Ogma instance to the DOM
    this.ogmaService.ogma.setContainer(this.container.nativeElement);
    return this.runLayout();
  }
}
Add the data
In this tutorial a mock dataset is used to get started, so we're importing it into the component file:
ts
import {
  OnInit,
  AfterContentInit,
  Component,
  Input,
  ViewChild
} from '@angular/core';
import { OgmaService } from './ogma.service';

// mock data
import initialGraph from './data';

@Component({
  selector: 'app-root',
  template: `
    <div class="App">
      <div #ogmaContainer style="width: 800px; height: 600px;"></div>
    </div>
  `,
  styleUrls: ['./app.component.css']
})
export class AppComponent implements OnInit, AfterContentInit {
  @ViewChild('ogmaContainer', { static: true })
  private container;

  /**
   * @param {OgmaService} ogmaService
   */
  constructor(private ogmaService: OgmaService) {}

  /**
   * Initialize the configuration of Ogma
   */
  ngOnInit() {
    // pass the ogma instance configuration on init
    this.ogmaService.initConfig({
      // add the mock data here to start with
      graph: initialGraph,
      options: {
        backgroundColor: 'rgb(240, 240, 240)'
      }
    });

    // setup more Ogma stuff here, like event listeners and more
  }

  /**
   * Ogma container must be set when content is initialized
   */
  ngAfterContentInit() {
    // atach the Ogma instance to the DOM
    this.ogmaService.ogma.setContainer(this.container.nativeElement);
    return this.runLayout();
  }

  /**
   * Runs a layout with the current graph
   */
  public runLayout(): Promise<void> {
    return this.ogmaService.runLayout();
  }
}
A new addNewNode action will be added thus a button on the view:
ts
...

@Component({
  selector: 'app-root',
  template: `<div class="App">
    <div #ogmaContainer style="width: 800px; height: 600px;"></div>
    <div class="text-center">
        Number of nodes: {{ countNodes() }}
        <form class="form" #formRef="ngForm">
        <h3>Action</h3>
        <button class="btn" (click)="addNode()">Add a node</button>
        </form>
    </div>
  </div>
  `,
  styleUrls: ['./app.component.css'],
})
export class AppComponent implements OnInit, AfterContentInit {

  ...

  /**
   * Add a new node to the visualization
   */
  public addNode(): Promise<void> {
    this.ogmaService.addNewNode();
    return this.runLayout();
  }

  /**
   * Runs a layout with the current graph
   */
  public runLayout(): Promise<void> {
    return this.ogmaService.runLayout();
  }

  /**
   * Returns the number of nodes in the graph
   */
  public countNodes(): number {
    return this.ogmaService.ogma.getNodes().size;
  }
}
and a new method on the ogmaService:
ts
...

// SOme utility functions
function createNode(id: number): RawNode {
    return {
        id,
        attributes: {
            color: id % 2 ? 'purple' : 'orange'
        }
    };
}

function createEdge(node: RawNode, ids: RawNode['id'][]): RawEdge {
    // pick a random node in the graph
    const randomIndex = Math.floor(Math.random() * ids.length);
    const otherNode = ids[randomIndex];
    return { id: `${otherNode}-${node.id}`, source: otherNode, target: node.id };
}

@Injectable()
export class OgmaService {
    // expose an instance of Ogma from the service
    public ogma: Ogma;


    public initConfig(configuration: OgmaParameters = {}){
        this.ogma = new Ogma(configuration);
    }

    public addNewNode() {
        const idsInGraph = this.ogma.getNodes().getId();
        const newNode = createNode(idsInGraph.length);

        this.ogma.addGraph({nodes: [newNode], edges: [createEdge(newNode, idsInGraph)]});
    }

    public runLayout(): Promise<void> {
        return this.ogma.layouts.force({locate: true});
    }
}
Now the chart can be updated with new nodes!

Add the tooltips
Ogma comes with the whole events namespace already exposing many different event hooks. We can bind the hover and unhover events in the OnInit hook of the app component to trigger a state change:
ts
...
export class AppComponent implements OnInit, AfterContentInit {


  @ViewChild('ogmaContainer', {static: true})
  private container;

  // use these to pass the informations to the tooltips
  hoveredContent: {id: NodeId, type: string};
  hoveredPosition: {x: number, y: number};

  /**
   * Initialize the configuration of Ogma
   */
  ngOnInit(){
    this.ogmaService.initConfig({
        graph: initialGraph,
        options: {
            backgroundColor: 'rgb(240, 240, 240)'
        }
    });

    this.ogmaService.ogma.events.on("mouseover", ({ x, y, target }: HoverEvent) => {
      if (target.isNode) {
        // save the tooltip state (offset by 20px the vertical position)
        this.hoveredContent = {
          id: target.getId(),
          type: target.getAttribute('color')
        };
        this.hoveredPosition = {x, y: y + 20};
      }
    });

    this.ogmaService.ogma.events.on("mouseOut",(_: HoverEvent) => {
      // clear the tooltip state
      this.hoveredContent = null;
    });
  }
  ...
To show the tooltip a new tooltip component will be created that accepts two bit of information: content and position:
ts
import { Component, Input } from '@angular/core';

@Component({
  selector: 'tooltip',
  template: `
    <div
      class="tooltip"
      #ngTooltip
      [style.top.px]="position.y"
      [style.left.px]="position.x"
    >
      <div class="tooltip-content">
        <table>
          <tbody>
            <tr>
              <td><strong>ID</strong></td>
              <td>{{ content.id }}</td>
            </tr>
            <tr>
              <td><strong>Type</strong></td>
              <td>
                <div class="circle" [style.background]="content.type"></div>
              </td>
            </tr>
          </tbody>
        </table>
      </div>
    </div>
  `,
  styleUrls: ['./tooltip.component.css']
})
export class TooltipComponent {
  @Input() content: { id: string; type: string };
  @Input() position: { x: number; y: number };
}
At this point the tooltip has to be integrated in the App component template:
ts
...

@Component({
  selector: 'app-root',
  template: `
  <div class="App">
    <div #ogmaContainer style="width: 800px; height: 600px;"></div>
  <tooltip *ngIf="hoveredContent" [content]="hoveredContent" [position]="hoveredPosition"></tooltip>
    <div class="text-center">
        Number of nodes: {{ countNodes() }}
        <form class="form" #formRef="ngForm">
        <h3>Action</h3>
        <button class="btn" (click)="addNode()">Add a node</button>
        </form>
    </div>
  </div>
  `,
  styleUrls: ['./app.component.css'],
})
export class AppComponent implements OnInit, AfterContentInit {
    ...
Layout picker - Advanced
This is an advanced step to complete the tutorial: when a node is added to the graph, the user can decide which layout to apply to the expand-like feature.
Two new layouts are defined as available in the application, and all layout method become parametric now:
ts
...

@Component({
  selector: 'app-root',
  template: `
  <div class="App">
    <div #ogmaContainer style="width: 800px; height: 600px;"></div>
    <tooltip *ngIf="hoveredContent" [content]="hoveredContent" [position]="hoveredPosition"></tooltip>
    <div class="text-center">
        Number of nodes: {{ countNodes() }}
        <form class="form" #formRef="ngForm">
        <h3>Action</h3>
        <button class="btn" (click)="addNode()">Add a node</button>
        <h3>Layout:</h3>
        <div *ngFor="let layout of layouts">
            <input [id]="layout" type="radio" name="layout" [(ngModel)]="currentLayout" [value]="layout"
            (change)="runLayout()" />
            <label [attr.for]="layout">{{layout|titlecase}} layout</label>
        </div>
        </form>
    </div>
    </div>
  `,
  styleUrls: ['./app.component.css'],
})
export class AppComponent implements OnInit, AfterContentInit {

  @ViewChild('ogmaContainer', {static: true})
  private container;

  // this holds the current layout
  @Input() currentLayout: string = "force";
  layouts: string[] = ['force', 'hierarchical'];

  hoveredContent: {id: NodeId, type: string};
  hoveredPosition: {x: number, y: number};

  ...

  /**
   * Runs a layout with the current graph
   */
  public runLayout(): Promise<void> {
    return this.ogmaService.runLayout(this.currentLayout);
  }

}
Same in the OgmaService:
ts
...

@Injectable()
export class OgmaService {
    ...

    public runLayout(layout: string = 'force'): Promise<void> {
        return this.ogma.layouts[layout]({locate: true});
    }
}
This is the final result:
