Resource management: Managing spaces
Managing spaces
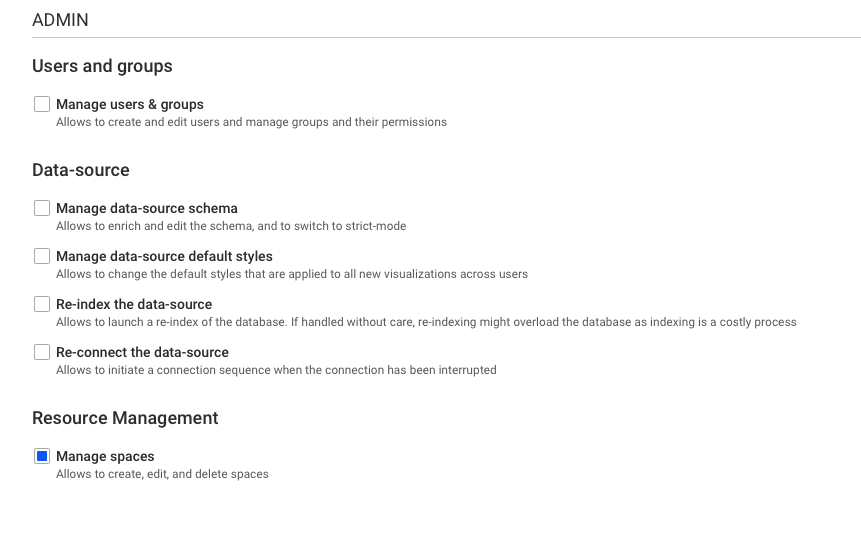
Spaces are containers of visualizations shared with user groups. By default, the admin and source manager has this right enabled. To provide a user group the right to manage a space, you can enable it in the custom group creation, as shown below.
IMPORTANT
User groups that have the Manage access right can create and delete a space. This does not, however, automatically grant them access to all spaces. The spaces have to be shared explicitly to a user group.
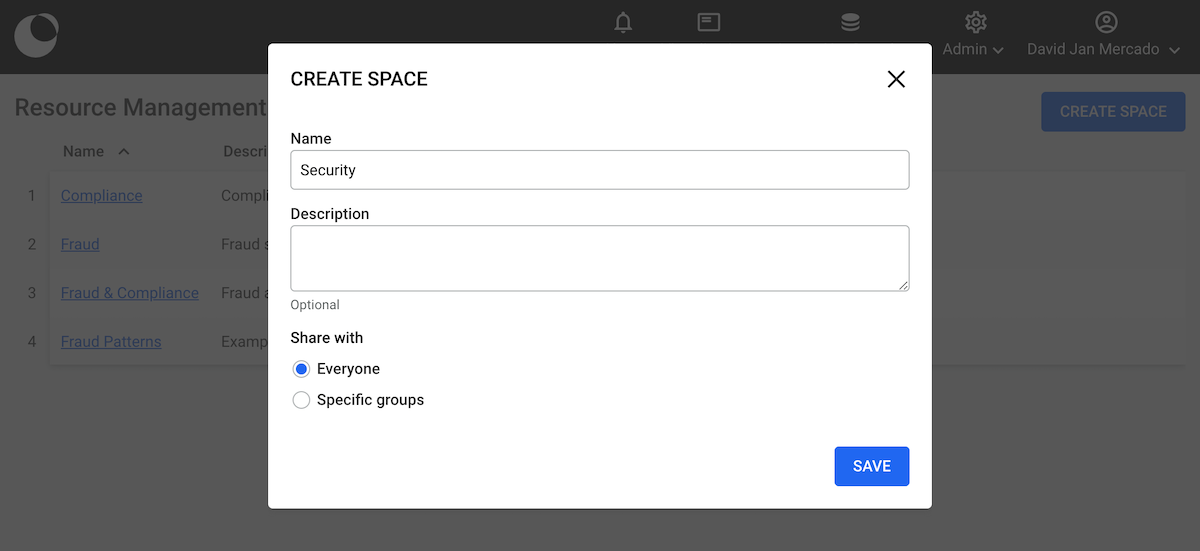
Creating a space
You can create a space by clicking the Create Space button on the upper right part of the page. The Name and Share with input fields are required. You can share it with as many built-in groups and custom groups as necessary.
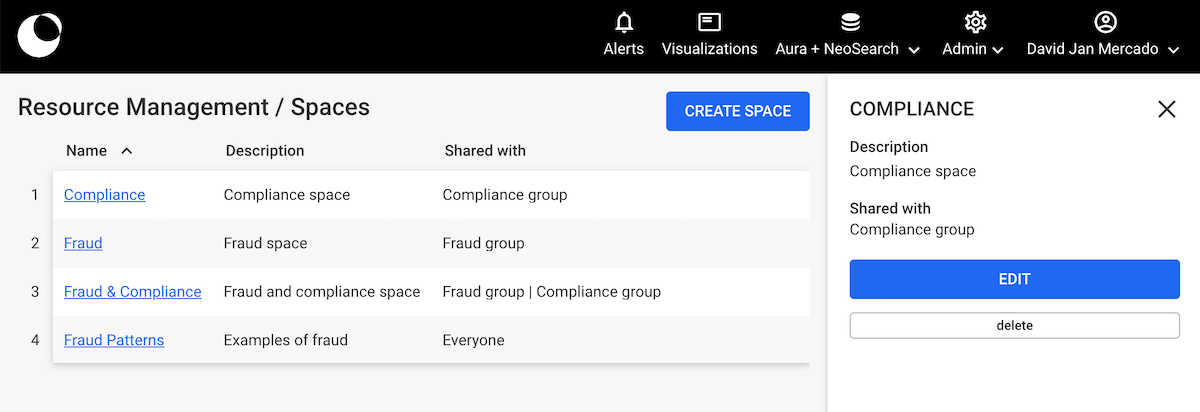
The space appears in the table once it’s created. Clicking on the name displays a panel that appears on the right (see image below) with the space’s information as well as the buttons to edit and delete.
Deleting a space
To delete a space, you click the name then click the delete button on the right drawer. This operation is irreversible, hence, the popin asks for further confirmation by asking you to type “delete”.

Warning To delete a space having visualizations, you have to delete all visualizations within it before you can delete it. If you attempt to delete such a space, the popin informs you that you cannot do it.