
Copilot: Configuration
Copilot uses a Bring Your Own Model approach. To use the feature, your organization must provide access to a supported Large Language Model (LLM).
An administrator must configure Copilot so that users can access it.
Before you begin
Make sure you have:
- An account with a supported LLM vendor.
- Access to the model you want Copilot to use.
- Valid connection parameters to connect and authenticate requests to the LLM vendor (e.g. API keys, urls, etc. see tables below).
The availability and cost of a model depend on the selected LLM vendor.
Configure Copilot
To configure Copilot:
- Open Admin & Settings.
- Select Copilot Configuration.
- Fill the configuration fields (it depends on the vendor, see the dedicated section below).
- Select Save model definition.
After the configuration is saved, Copilot uses the selected model to process users' requests.
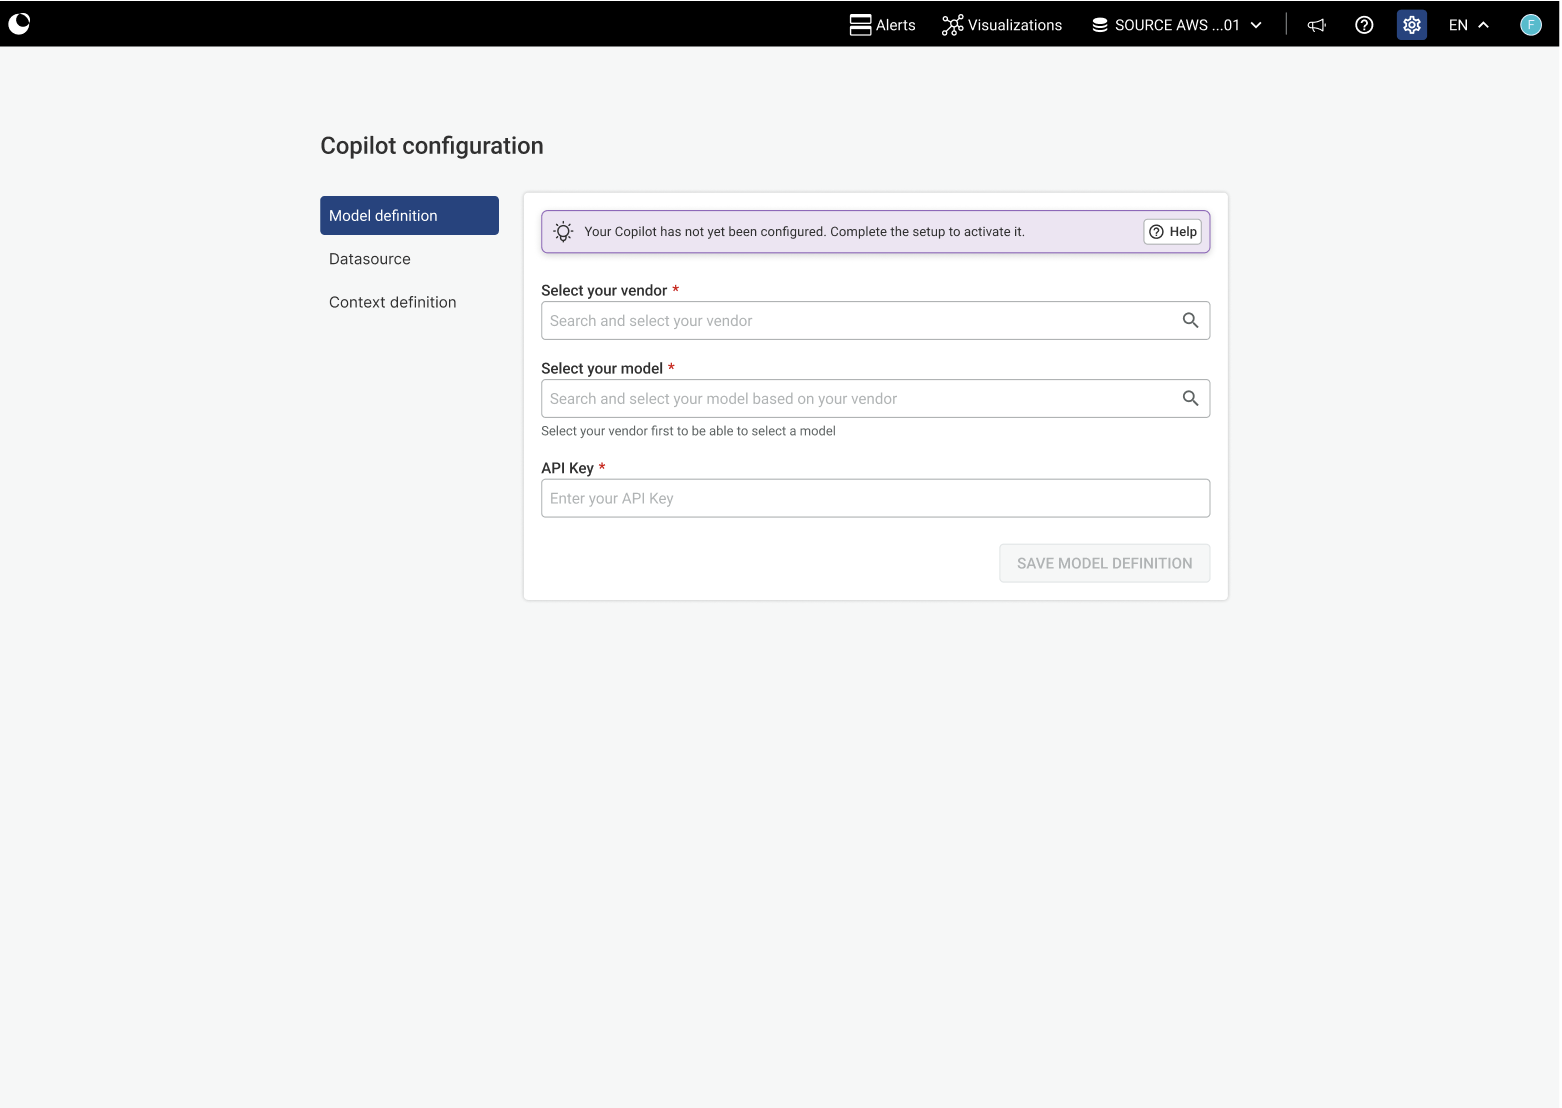
The Copilot Configuration is divided into three sections:
- Model definition: the LLM vendor, its credentials and the token limit of a request.
- Context definition: the business context sent to the model together with users' questions.
- Context limits: how much graph data is included in the context sent to the model.
Model definition
You first need to choose your LLM Vendor via the "Vendor" field. Supported vendors include Google, Anthropic, OpenAI, Mistral, Azure OpenAI and AWS Bedrock. We also support connecting to a LLM via Ollama (use the "Custom" vendor option). According to the vendor, different fields are available to connect to the LLM.
⚠️ API keys are sensitive credentials. Do not share them or include them in screenshots, support requests, or other documentation.
The Token limit field is available for all vendors, see Token limit.
Google or Mistral
| Field | Description |
|---|---|
| Model | The name or identifier of the model that Copilot will use. The configured account must have access to this model. |
| API key | The API key to use when making requests to the vendor. |
| URL (optional) | The base url of the API to use for requests to the vendor (useful for on-premise setups). |
OpenAI
| Field | Description |
|---|---|
| Model | The name or identifier of the model that Copilot will use. The configured account must have access to this model. |
| API key | The API key to use when making requests to the vendor. |
| URL (optional) | The base url of the API to use for requests to the vendor (useful for on-premise setups). |
| Custom Headers (optional) | Additional HTTP headers sent with every request to the vendor, as a JSON object (e.g. {"X-Gateway-Id": "acme"}). Useful when requests go through a proxy or an API gateway that requires extra headers. |
Anthropic
| Field | Description |
|---|---|
| Model | The name or identifier of the model that Copilot will use. The configured account must have access to this model. |
| API key | The API key to use when making requests to the vendor. |
Azure OpenAI
| Field | Description |
|---|---|
| API key | The credential used to authenticate requests. |
| URL | Base url for Azure OpenAI API. e.g. setting this value to "https://westeurope.api.cognitive.microsoft.com/openai/deployments" will be result in the endpoint URL: https://westeurope.api.cognitive.microsoft.com/openai/deployments/{DeploymentName}/ |
| Deployment Name | Azure OpenAI API deployment name to use for completions when making requests to Azure OpenAI. This is the name of the deployment you created in the Azure portal. e.g. "my-openai-deployment" this will be used in the endpoint URL: https://{InstanceName}.openai.azure.com/openai/deployments/my-openai-deployment/ |
| API Version | API version to use when making requests to Azure OpenAI. |
AWS Bedrock
| Field | Description |
|---|---|
| Model | Model to use. For example, "anthropic.claude-haiku-4-5-20251001-v1:0", this is equivalent to the modelId property in the list-foundation-models api. See the full list of models. |
| Access Key ID | AWS access key ID. |
| Secret Access Key | AWS secret access key. |
| URL (optional) | The base url of the API to use for requests (useful for on-premise setups). |
| Region | The AWS region e.g. us-west-2. |
Custom (Ollama)
| Field | Description |
|---|---|
| Model | The model to invoke. |
| URL | The host URL of the Ollama server. |
Token limit
The optional Token limit field sets the maximum number of tokens Copilot can send to the model
in a single request. Default value: 100 000.
See how Copilot builds its context.
Context definition
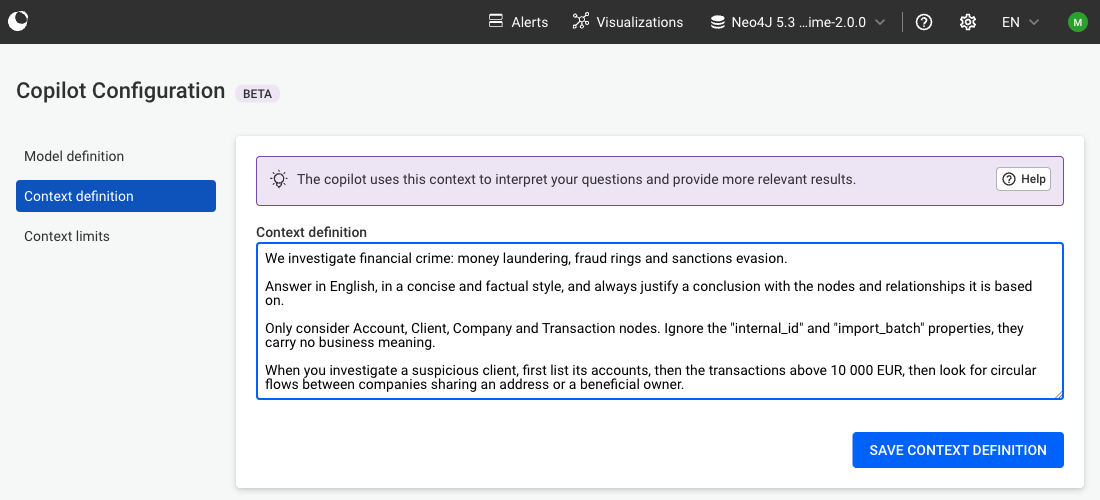
The context definition is free text that gives the model additional context or instructions specific to your organization and your use cases, for example:
- how to formulate its responses
- which data to consider or to ignore (relevant node categories, edge types or properties, data that is unreliable or out of scope)
- steps to follow during an investigation
It is appended to the Copilot system prompt, so that Copilot can interpret users' questions and the graph data with your domain knowledge in mind.
ℹ️ The context definition is set per data-source: each data-source can have its own context, and only the context for the data-source the user is working on is sent to the model.
To set it:
- Open Admin & Settings.
- Select Copilot Configuration.
- Open the Context definition section.
- Enter your context and select Save context definition.
Context limits
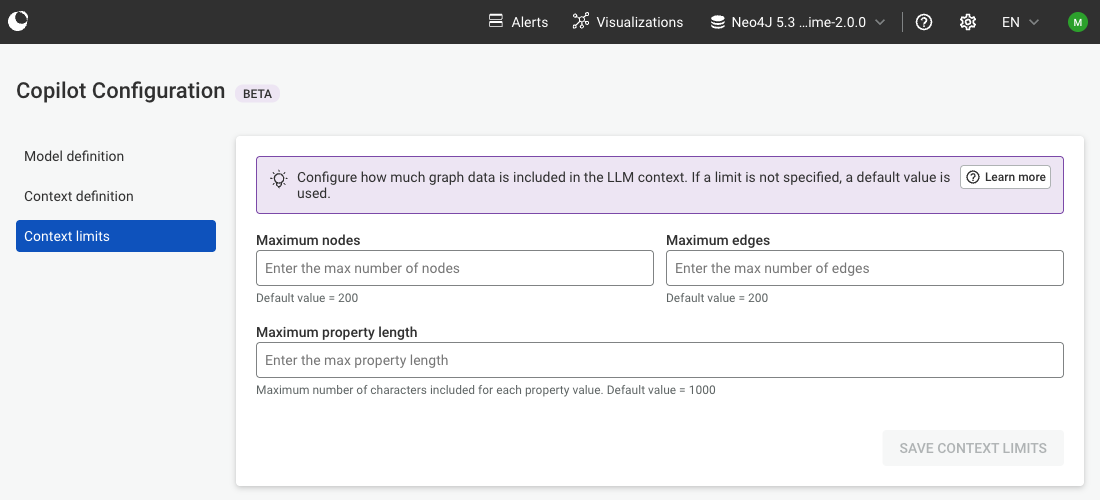
When Copilot inspects what the user is currently looking at (a visualization or a case), the nodes and edges of that view are sent to the model. The Context limits configurations limit how much of that graph data is included.
| Field | Description |
|---|---|
| Maximum nodes (optional) | The maximum number of nodes of the current visualization or case sent to the model. Default value: 200. |
| Maximum edges (optional) | The maximum number of edges of the current visualization or case sent to the model. Default value: 200. |
| Maximum property length (optional) | The maximum number of characters included for each property value. Longer values are shortened. Default value: 1000. |
Edges whose source or target node was not included are dropped as well, so that the graph sent to the model never contains orphaned edges.
⚠️ Raising these limits increases the number of tokens consumed by each request, and can cause the token limit to be reached faster.